
Popcorn ceilings, also known as acoustic ceilings, have been a popular choice for homeowners looking to add texture and character to their interiors. Whether you’re renovating an older home or simply want to give your ceiling a fresh, textured finish, applying a popcorn ceiling can be a cost-effective and visually appealing solution. In this guide, we’ll walk you through the entire process, from preparation to application, ensuring a professional result.
Introduction to Popcorn Ceilings
What is a Popcorn Ceiling?
A popcorn ceiling is a textured ceiling finish that resembles the surface of popcorn, hence the name. This style became popular in the mid-20th century for its ability to hide imperfections and provide sound insulation. The texture is achieved by spraying a special mixture onto the ceiling, creating a unique and visually interesting surface.
Benefits of Applying a Popcorn Ceiling
Popcorn ceilings offer several advantages. They are excellent at concealing cracks, uneven surfaces, and other imperfections. Additionally, the textured finish can help dampen sound, making it a practical choice for rooms where noise reduction is desired. Moreover, applying a popcorn ceiling is a relatively simple DIY project that can transform the look of a room without breaking the bank.
Preparing Your Space for Application
Cleaning the Room and Ceiling
Before starting, clear the room of all furniture and cover the floors with drop cloths to protect them from splatters. Ensure the ceiling is clean and free of dust, grease, or cobwebs. A clean surface is essential for the texture to adhere properly.
Necessary Tools and Materials
To apply a popcorn ceiling, you’ll need the following tools and materials:
- Popcorn ceiling texture mix
- A texture sprayer or hopper gun
- Drop cloths and painter’s tape
- A ladder
- Safety goggles and a dust mask
- A mixing bucket and drill with a mixing attachment
Safety Precautions
Safety is paramount when working on ceilings. If your home was built before 1980, have the ceiling tested for asbestos before proceeding. Asbestos can pose serious health risks if disturbed. Always wear safety goggles, a dust mask, and gloves to protect yourself during the process.
Mixing the Popcorn Ceiling Texture
How to Create the Perfect Mixture
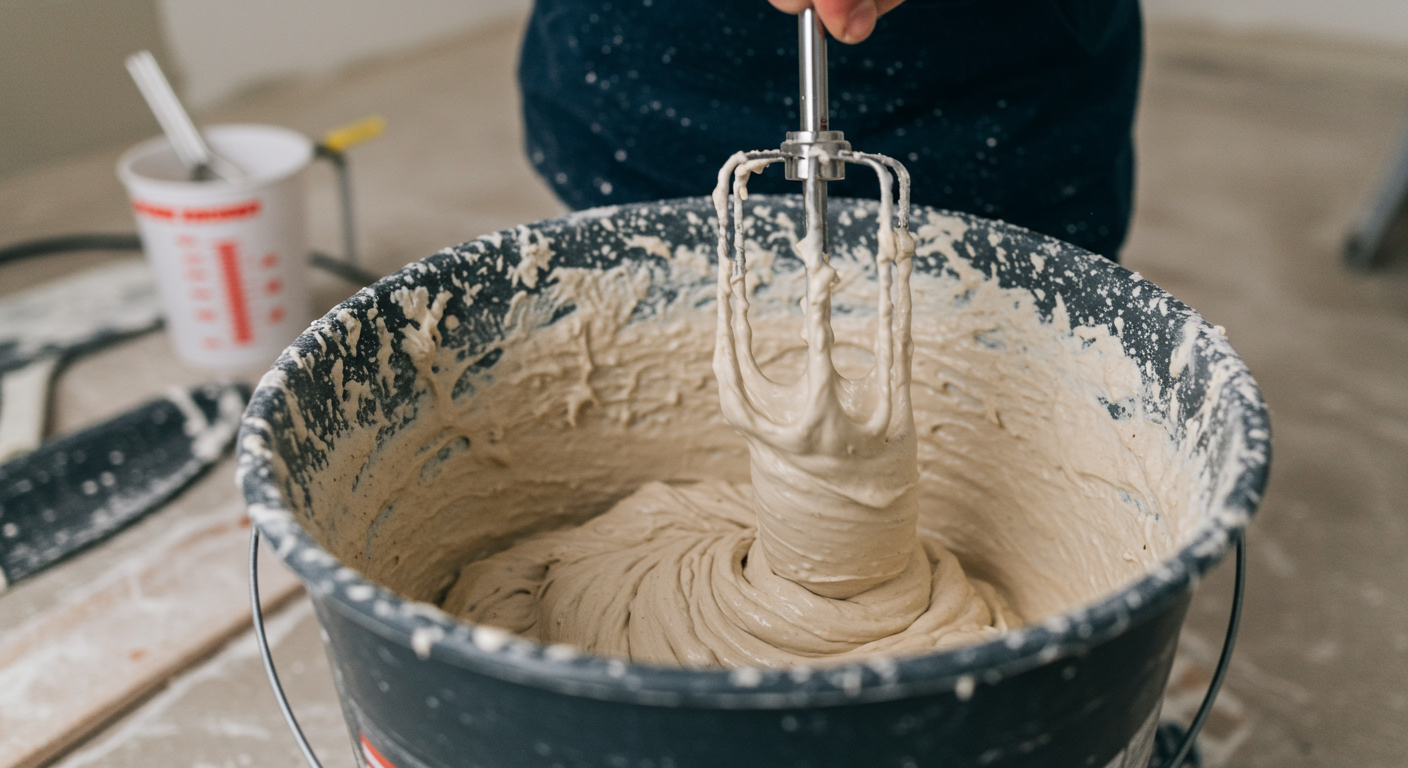
The key to a successful popcorn ceiling application lies in the texture mixture. Start by following the manufacturer’s instructions on the packaging. Use a mixing bucket and a drill with a mixing attachment to combine the texture powder with water. Mix until you achieve a smooth, lump-free consistency.
Tips for Achieving the Right Consistency
The texture should be thick enough to adhere to the ceiling but not so thick that it clogs the sprayer. Test the mixture on a piece of cardboard or scrap material to ensure it sprays evenly and creates the desired texture. Adjust the consistency by adding more water or texture powder as needed.
Step-by-Step Application Process
Filling the Texturing Gun
Once your mixture is ready, fill the hopper of your texture sprayer or gun. Ensure the nozzle is set to the appropriate size for the texture you want to achieve. Practice spraying on a piece of cardboard to get a feel for the equipment and adjust the settings if necessary.
Techniques for Even Application
Begin spraying the ceiling in a consistent, sweeping motion. Start at one corner of the room and work your way across, overlapping each pass slightly to ensure even coverage. Maintain a steady hand and keep the sprayer at a consistent distance from the ceiling to avoid uneven texture.
Finishing Touches and Optional Second Coat
After the first coat has dried, inspect the ceiling for any missed spots or inconsistencies. If needed, apply a second coat for a more uniform finish. Allow the ceiling to dry completely before removing the drop cloths and painter’s tape.
Applying a popcorn ceiling is a rewarding DIY project that can enhance the aesthetic and functionality of your space. By following these steps and taking the necessary precautions, you can achieve a professional-looking textured finish that adds character and charm to your home. For more tips on home improvement and renovation, check out our comprehensive guide to mold growth in homes and other related resources.


